Click here to see a video guide.
Step 1 - Verify Your Identity
Submit your phone number and government-issued ID to sign up at our machines. It takes about 2 minutes to sign up.
Click here: to see our guide on how to verify your identity
Step 2 - Get a Cryptocurrency Wallet
You'll need to take your wallet (or a printed QR code) with you, to the machine. Make sure that the wallet used supports the cryptocurrency you would like to purchase. If the wallet is not compatible, you will lose your transaction amount.
Click here: to see some wallets that are compatible with our ATMs
Step 3 - Find the Nearest Bitcoin ATM
See our interactive map to find the closest Bitcoin ATM to you.
Click here: to see our interactive map
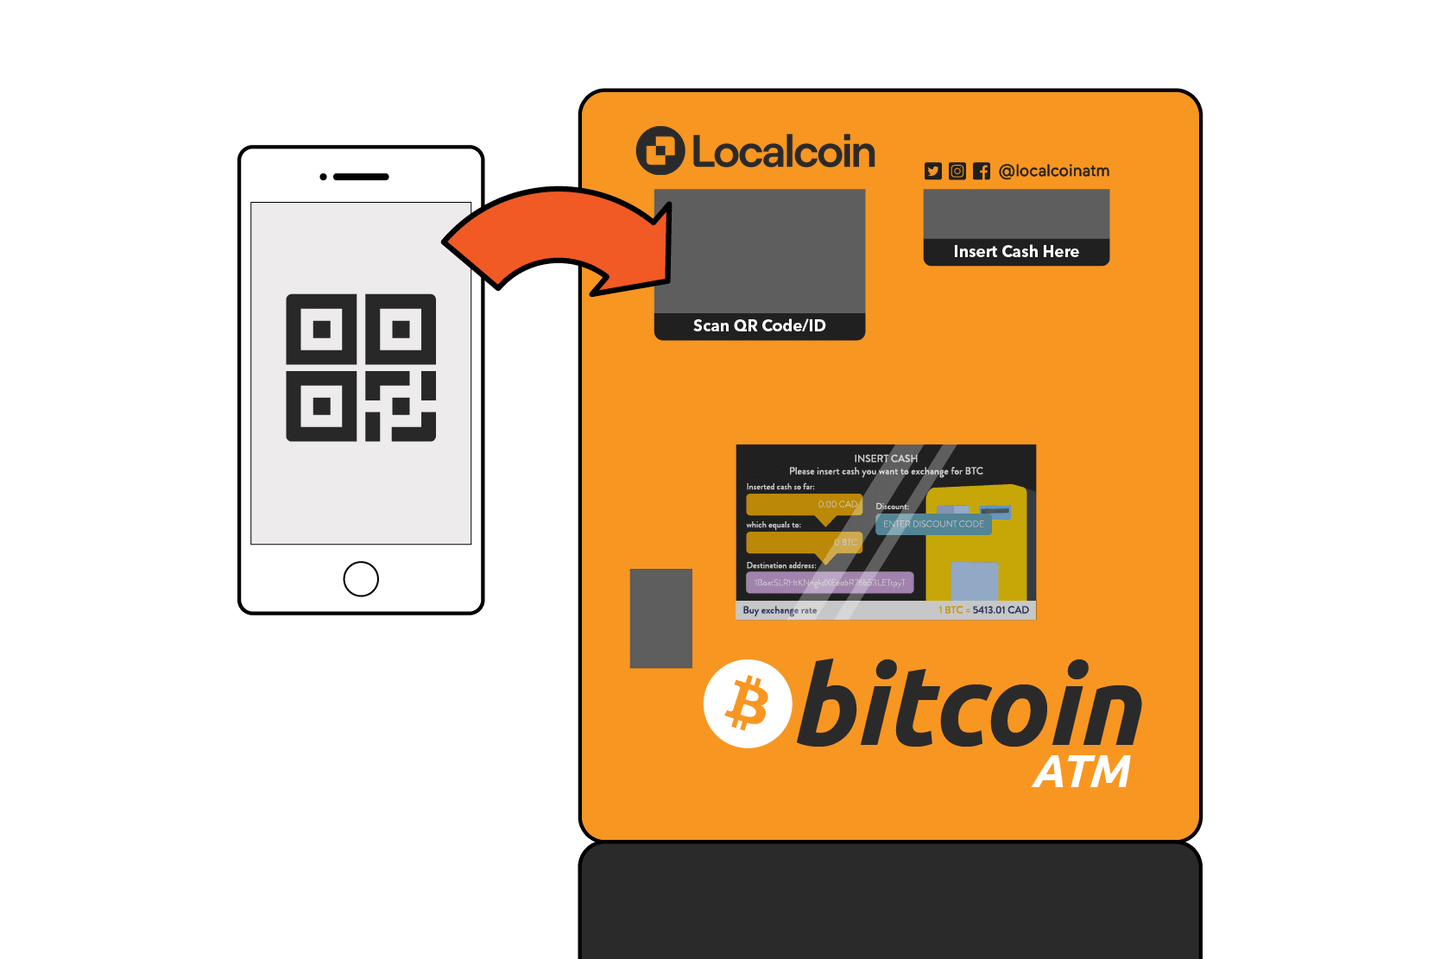
Step 4 - Scan Cryptocurrency Wallet QR Code
- Tap the machine's touchscreen, then read the on-screen prompt.
- Select the cryptocurrency you wish to purchase
- In your wallet, find your address' QR code
- Hold it up to the machine's camera; the machine will scan it. This tells the machine where to send your cryptocurrency once you've confirmed your purchase.
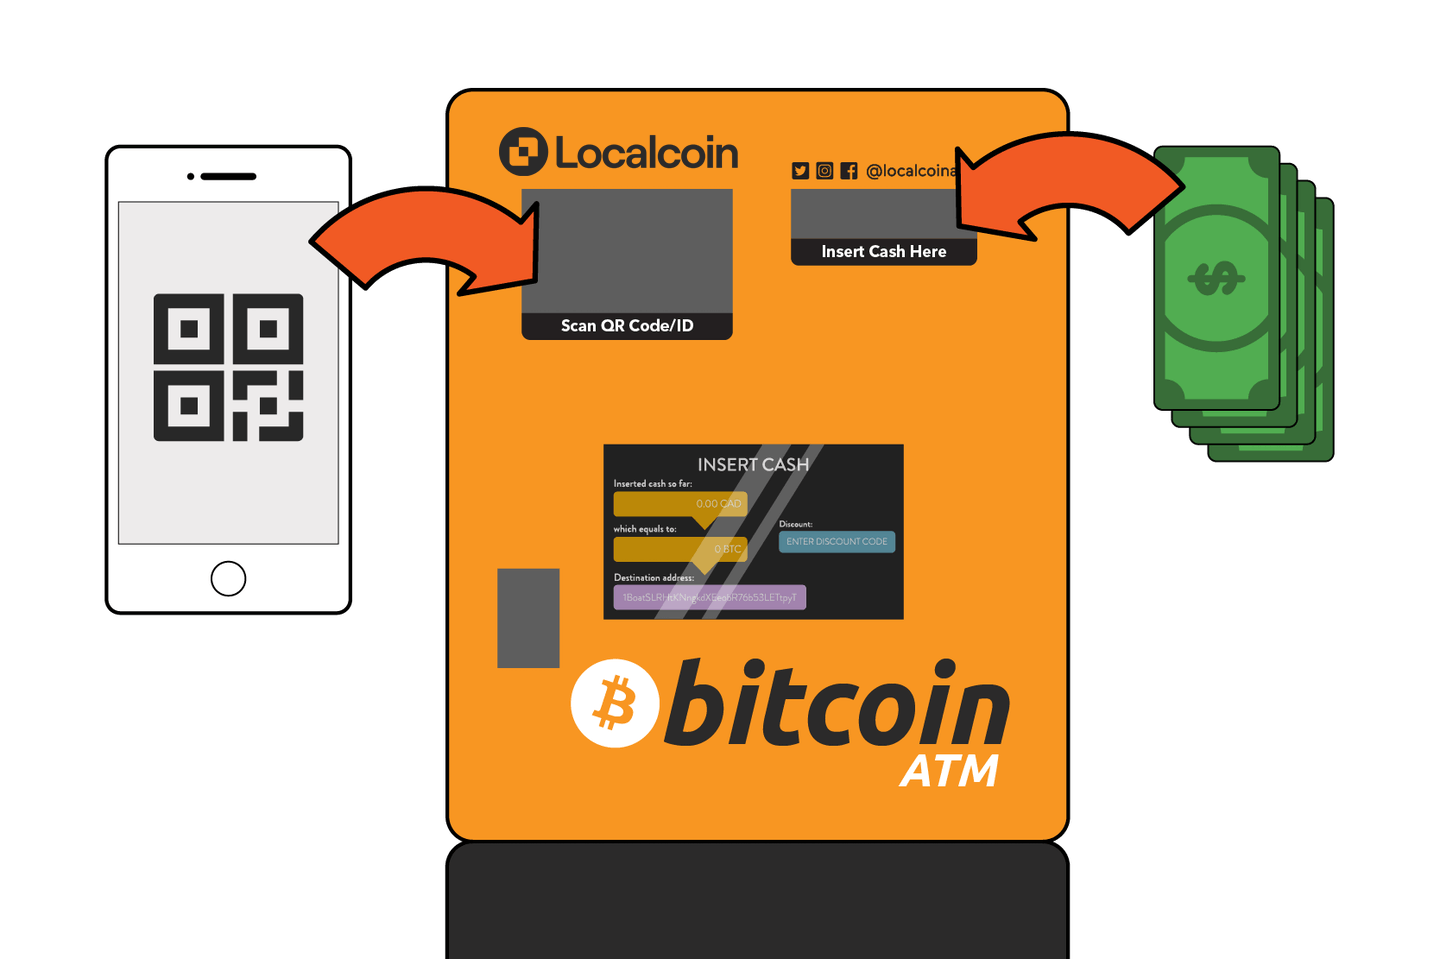
Step 5 - Purchasing Your Cryptocurrency
- After scanning the QR code, insert your NZD bills.
- Confirm the amount on the screen to complete your purchase.
Step 6 - Receiving Your Cryptocurrency
Once you've confirmed your purchase, your cryptocurrency will be sent to the address you provided*.
Transactions are usually instantaneous, but may take anywhere between 10–30 minutes, or even 1–2 hours in rare cases**.
* If you are going to send funds to another person, we recommend sending it to your own wallet first—especially if you do not know them personally.
** It is recommended that you wait for at least one confirmation on the Blockchain before spending or sending your purchased funds.
Comments
0 comments
Please sign in to leave a comment.